|
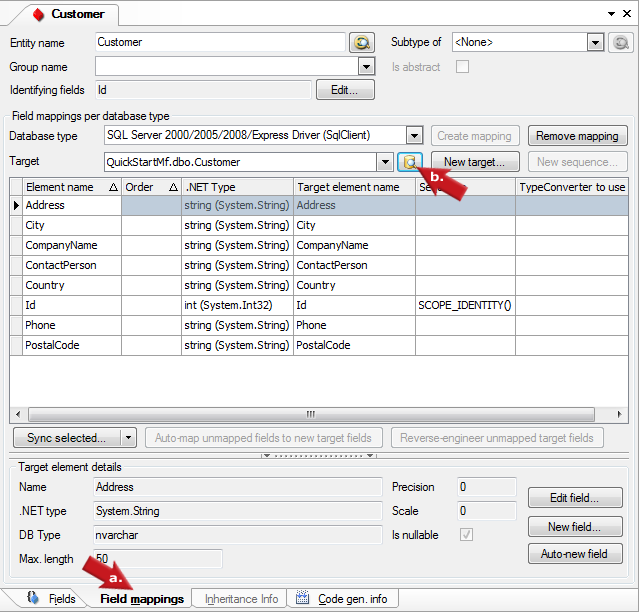
To examine the mappings, click the Field Mappings tab (a.) of the editor of the entity you created. To quickly find the table
created, click the Lookup button (b.) next to the Mapping Target on the Field Mappings tab to go to the node of the table in Catalog Explorer.
|

|
The designer can't always automatically update the relational model data on the fly when you make a change in the Abstract Entity Model, as not all actions are 1:1 translatable,
so to complete the process, you have to Validate and Adjust the Relational Model Data by clicking the Validate and Adjust Relational Model Data button on the toolbar.
This action performs a full
Project Validation
and also adjusts the relational model data based on the entity definition. If you don't receive a validation error, everything is setup properly and the relational model data is adjusted.
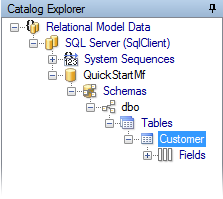
You should now see a table definition with primary key and fields in the Catalog Explorer.

|

|
In Catalog Explorer rename the schema and / or catalog node if you want to have a different name for these in your actual database.
|
| |